5 「通信の確認」画面が表示されます。表示されている数字を正確に入力し、[OK]をクリックします。
以上で、ボリュームを削除する手順は完了です。
iSNSを有効にする
本製品ではiSNSプロトコルを有効にすることで、iSCSIターゲット(ボリューム)をiSNSサーバーに登録して管理できるようになります。
本製品でiSNSプロトコルを有効にするには、以下の手順を行ってください。
1 設定画面で[ストレージ]をクリックします。

A dark grey rectangular button with a white storage icon (three stacked disks) and the Japanese text "ストレージ" (Storage).
2 「iSCSI」の横にある設定アイコン(
 )をクリックします。

A horizontal row showing the iSCSI status. It includes an iSCSI icon, the text "iSCSI", a blue and white toggle switch, and a gear icon for settings.
3 [iSNS (Internet Storage Name Service)]タブをクリックし、[編集]をクリックします。
4 「iSNS」を「有効にする」にし、iSNSサーバーのIPアドレスまたはホスト名を入力して[OK]をクリックします。
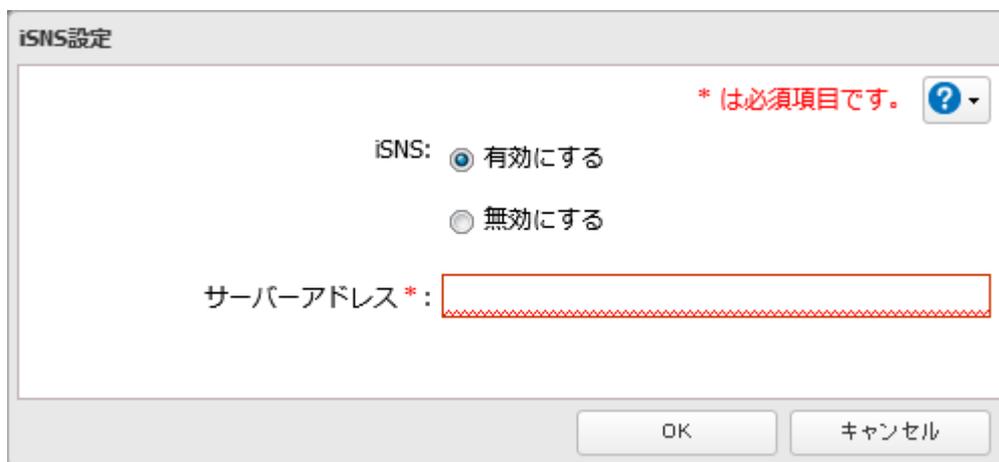 A dialog box titled "iSNS設定" (iSNS Settings). It contains a red note "* は必須項目です。" ( * is a required item.) and a help icon. There are two radio buttons for "iSNS": "有効にする" (Enable) which is selected, and "無効にする" (Disable). Below is a text input field for "サーバーアドレス *" (Server Address *). At the bottom are "OK" and "キャンセル" (Cancel) buttons.
以上で、iSNSを有効にする手順は完了です。