【システム設定画面】
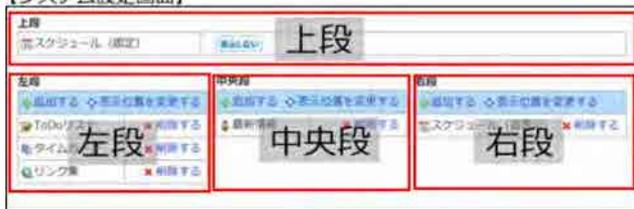
Screenshot of the System Settings screen. It shows a 'Top' section with 'Schedule (Fixed)' and 'Hide/Show' buttons. Below are three columns: 'Left' (containing 'Show/Hide' and 'Change Display Position' buttons), 'Center' (containing 'Add' and 'Change Display Position' buttons), and 'Right' (containing 'Add' and 'Change Display Position' buttons).

A large blue downward-pointing arrow indicating a transition from the System Settings screen to the Top Page.
【トップページ】
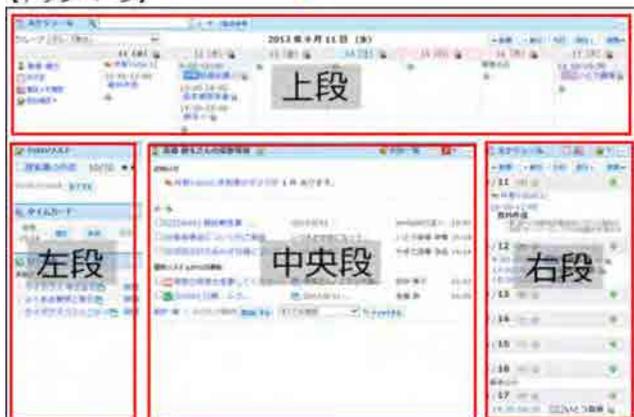
Screenshot of the Top Page layout. It features a header with the date '2013年8月11日 (日)'. Below the header are three columns: 'Left', 'Center', and 'Right', each containing various UI components like 'To Do List', 'Time Card', 'Link Collection', and 'Cybozu.net'. The 'Center' column also shows a 'New Message' notification.
パーツを追加する
トップページにパーツを追加します。
-
1. システム設定画面で、
 トップページの最初のレイアウト
をクリックします。
トップページの最初のレイアウト
をクリックします。
- 2. 次の画面が表示される場合は、 設定する をクリックします。
次の画面が表示されない場合は、手順3に進みます。
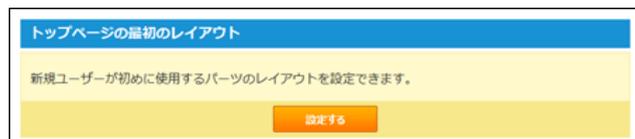
A modal dialog box titled 'トップページの最初のレイアウト'. It contains a message: '新規ユーザーが初めに使用するパーツのレイアウトを設定できます。' and a '設定する' (Set) button.
- 3. パーツを追加する位置で、 +追加する をクリックします。
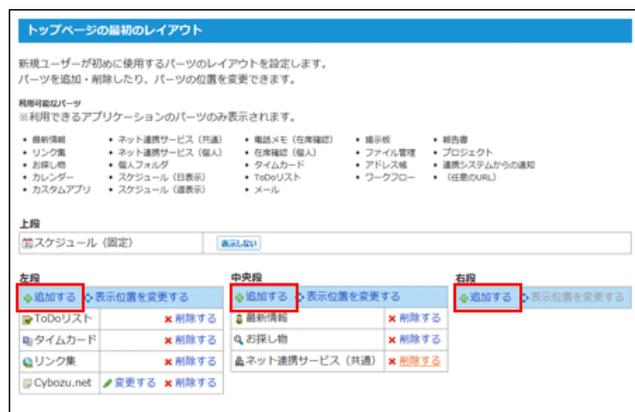
The 'Top Page Initial Layout' modal dialog. It lists available parts to add, categorized by column: 'Left' (To Do List, Time Card, Link Collection, Cybozu.net), 'Center' (Latest News, Search, Net Sharing Service), and 'Right' (Display, File Management, Address Book, Workflow, Custom URL). Each part has an 'Add' (+追加する) button. Below the list is a preview of the layout with 'Schedule (Fixed)' in the top, and 'Left', 'Center', and 'Right' columns.
- 4. トップページに追加するパーツの種類をドロップダウンリストから選択し、 追加する をクリックします。

An information icon (a lowercase 'i' inside a circle).
● 上段の「スケジュール」パーツの移動や削除はできません。トップページの「スケジュール」パーツを非表示にする場合は、手順3で